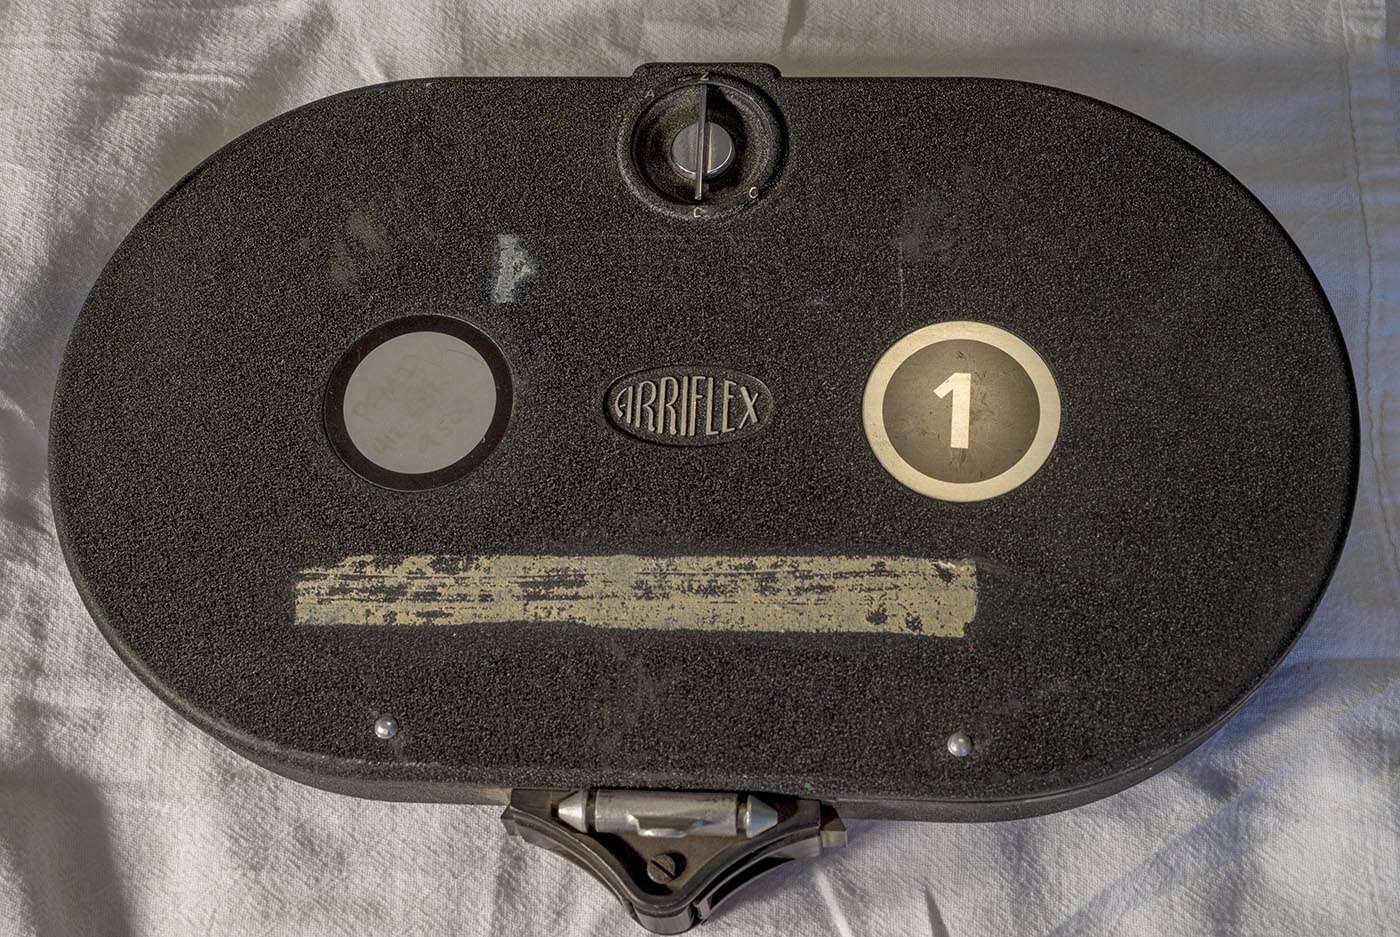
Let's tear down an Arri 16S 400 ft magazine and see what's inside. Here are a few shots of the mag before taking it apart.
(Note this looks to be an earlier one, with no latch on the cover lock, and no spring latch for the attachment pin)

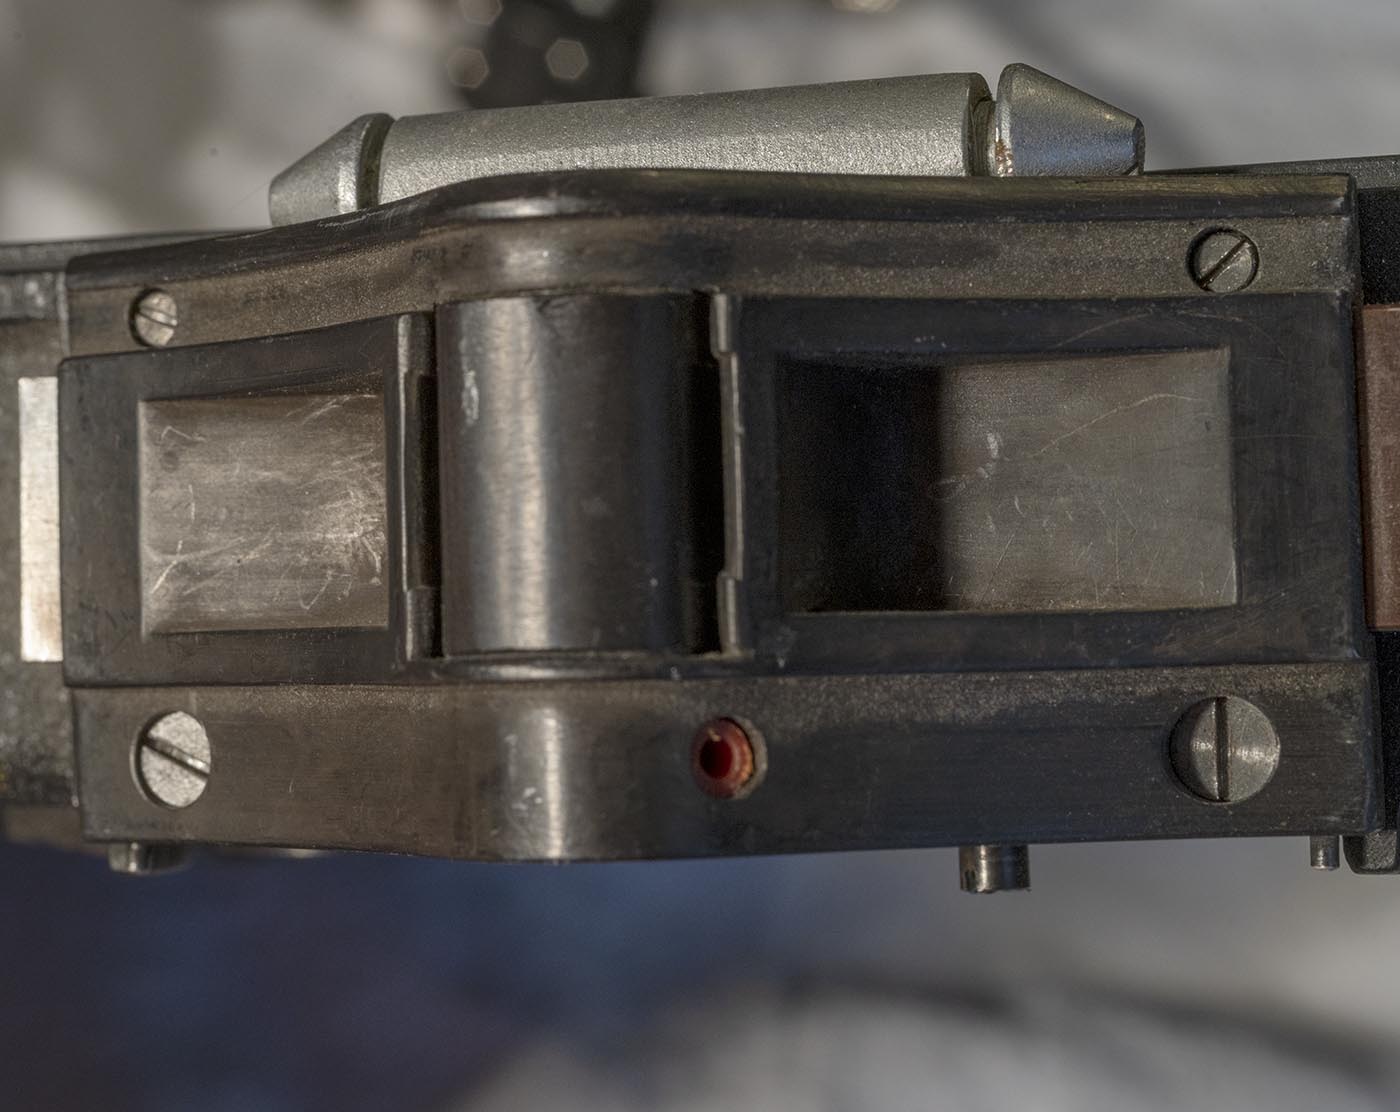
Here is the little pin that contacts the corresponding power pin on the camera. It sends the power to the little zig-zaggy
copper contact piece, which also provides the spring tension for the pin. The other end of the copper piece springily
contacts the correponding pin on the motor, to drive the whole thing.
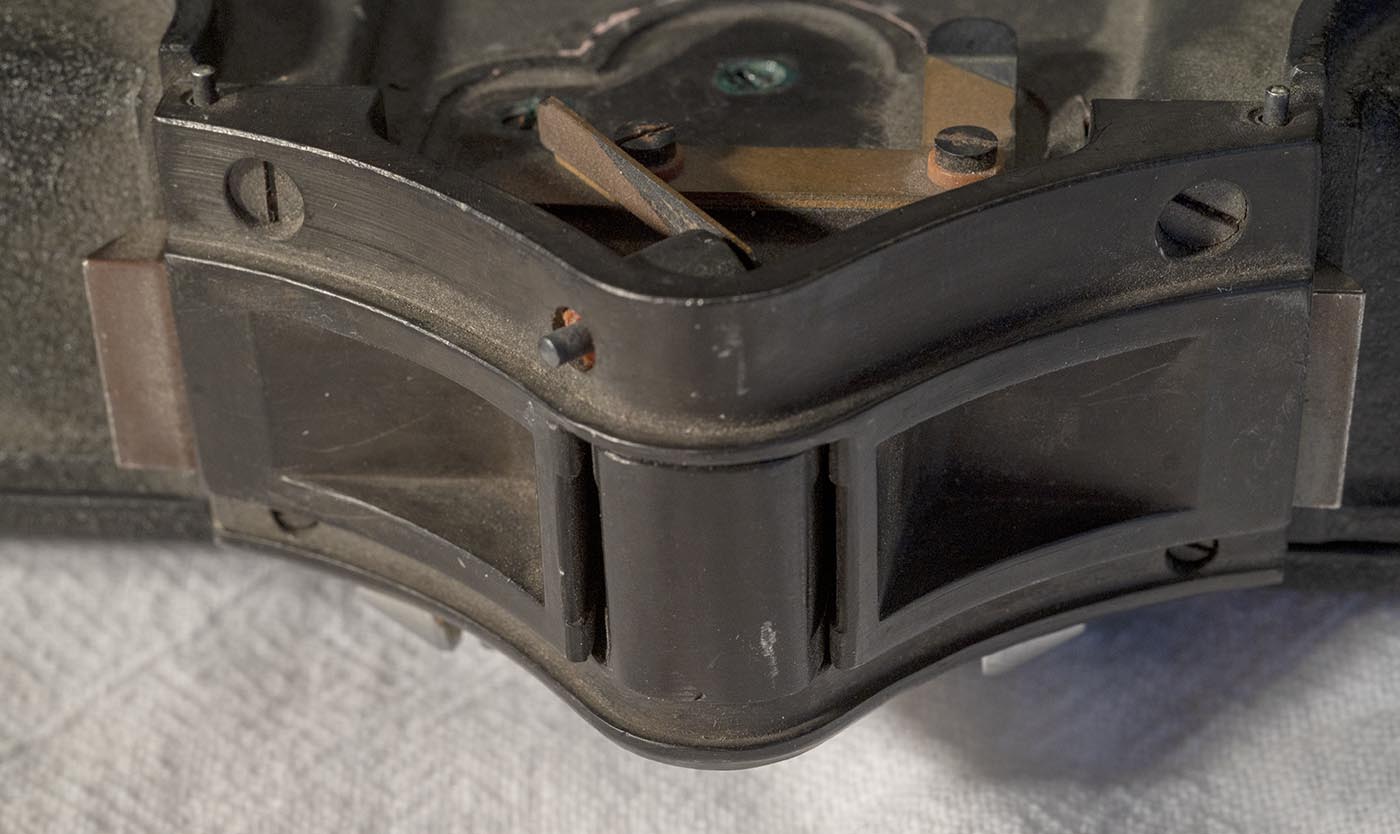
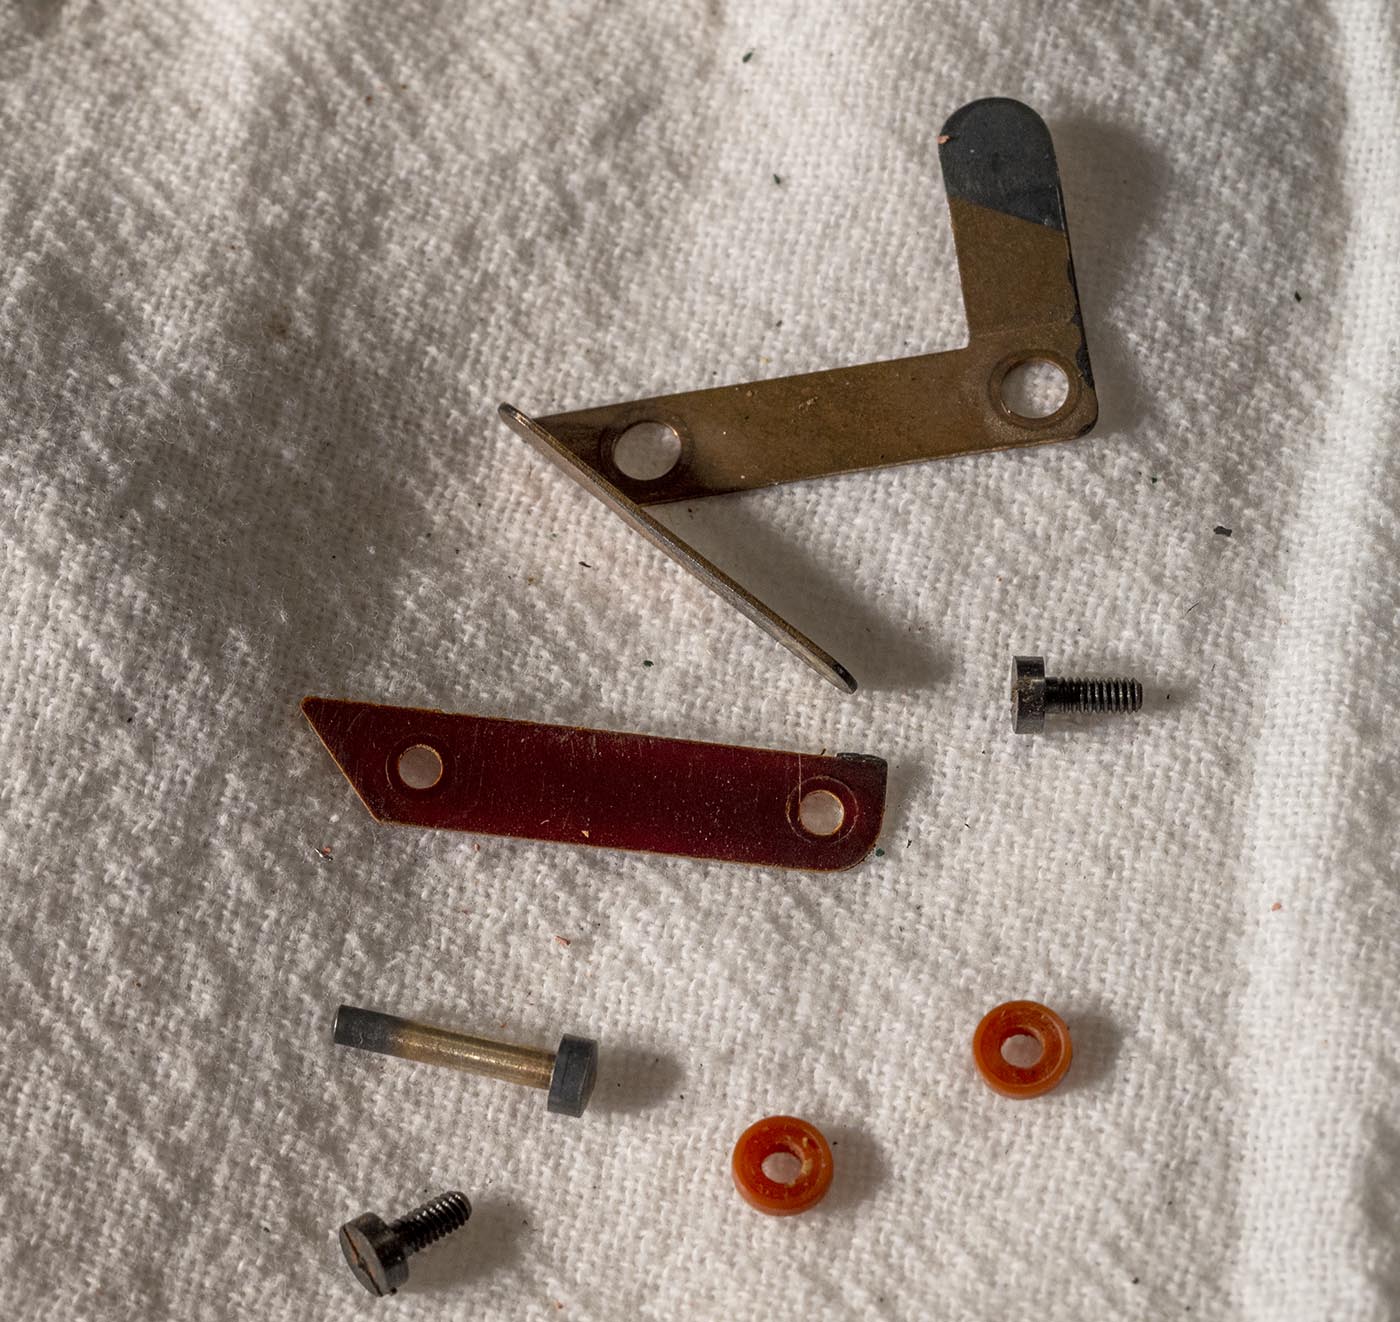
Two screws hold on the copper piece, using insulated plastic washers, and an insulator between the copper and the body of the motor.
When you remove this, the contact pin also slides out - don't lose it!
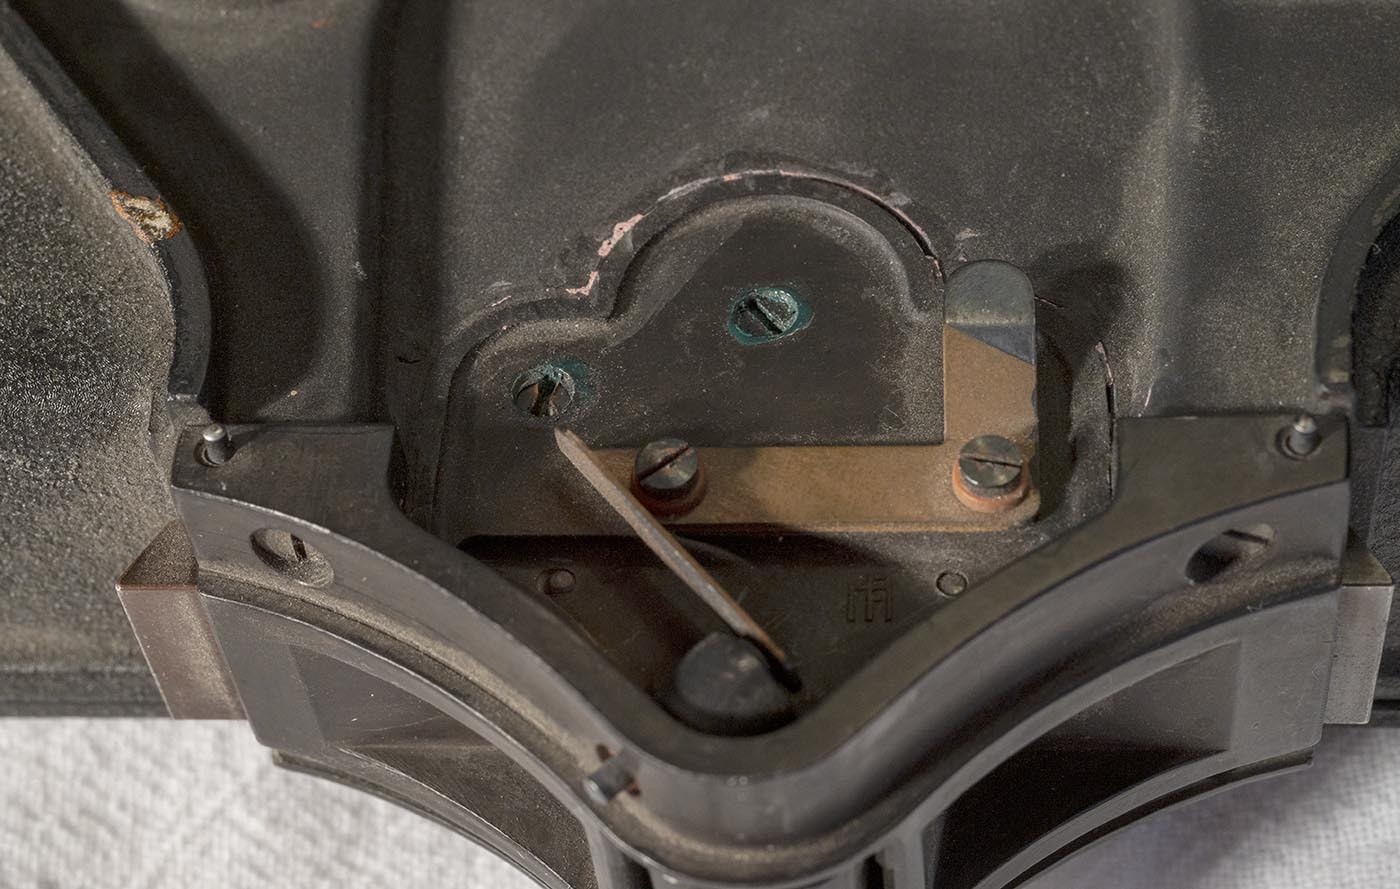
This reveals the third of three screws holding the felt covered rollers in, but they're still trapped until we disassemble a bit more.
Note the crumbly pink stuff in the seam and the black paint over it.
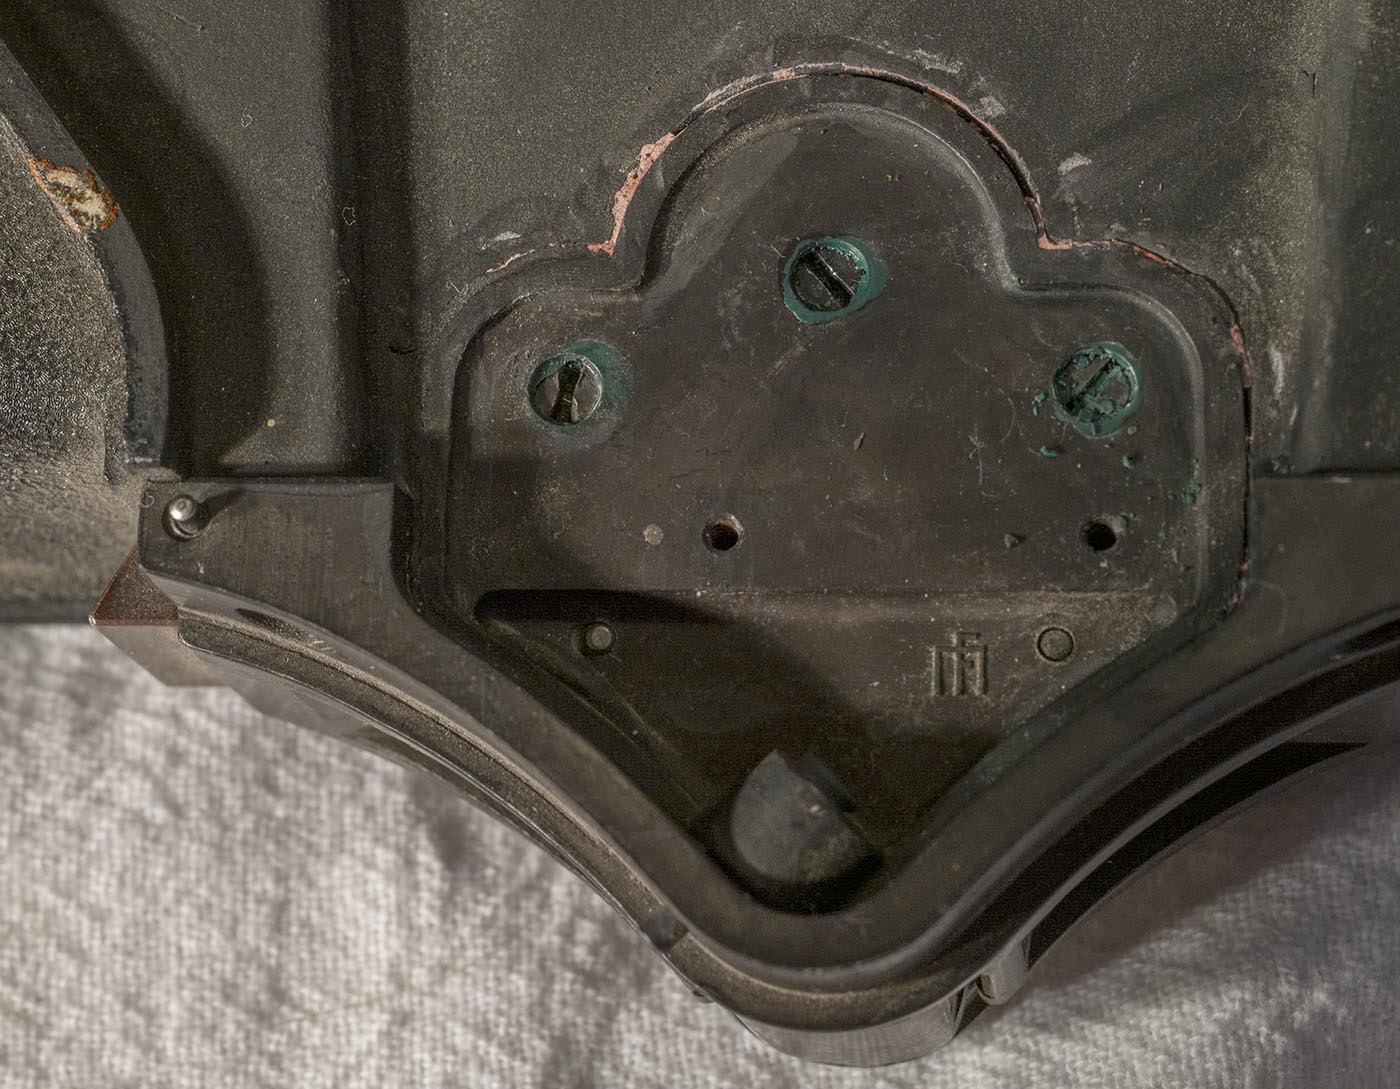
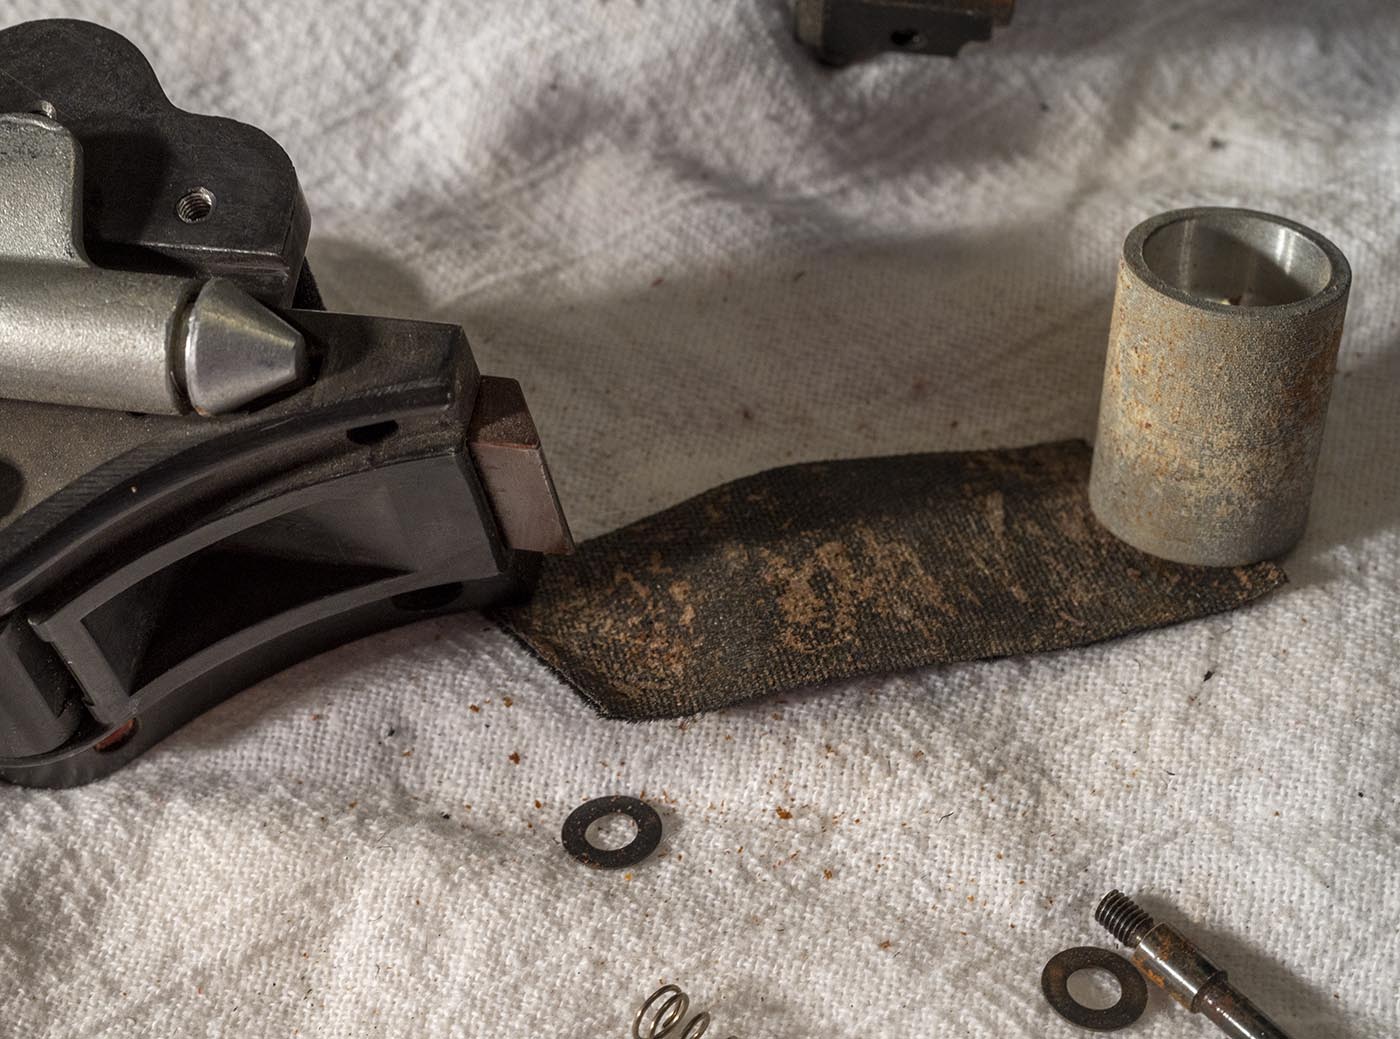
Looks like 4 screws holding the roller assembly in the magazine - two big, two small.
After removing them, the assembly just pulls out with a good tug. The latch plates on either side stay in pretty well but if you knock
them out, a couple of springs and 4 pins will go flying and it's a bit of a pain to reasssemble. So just be careful.
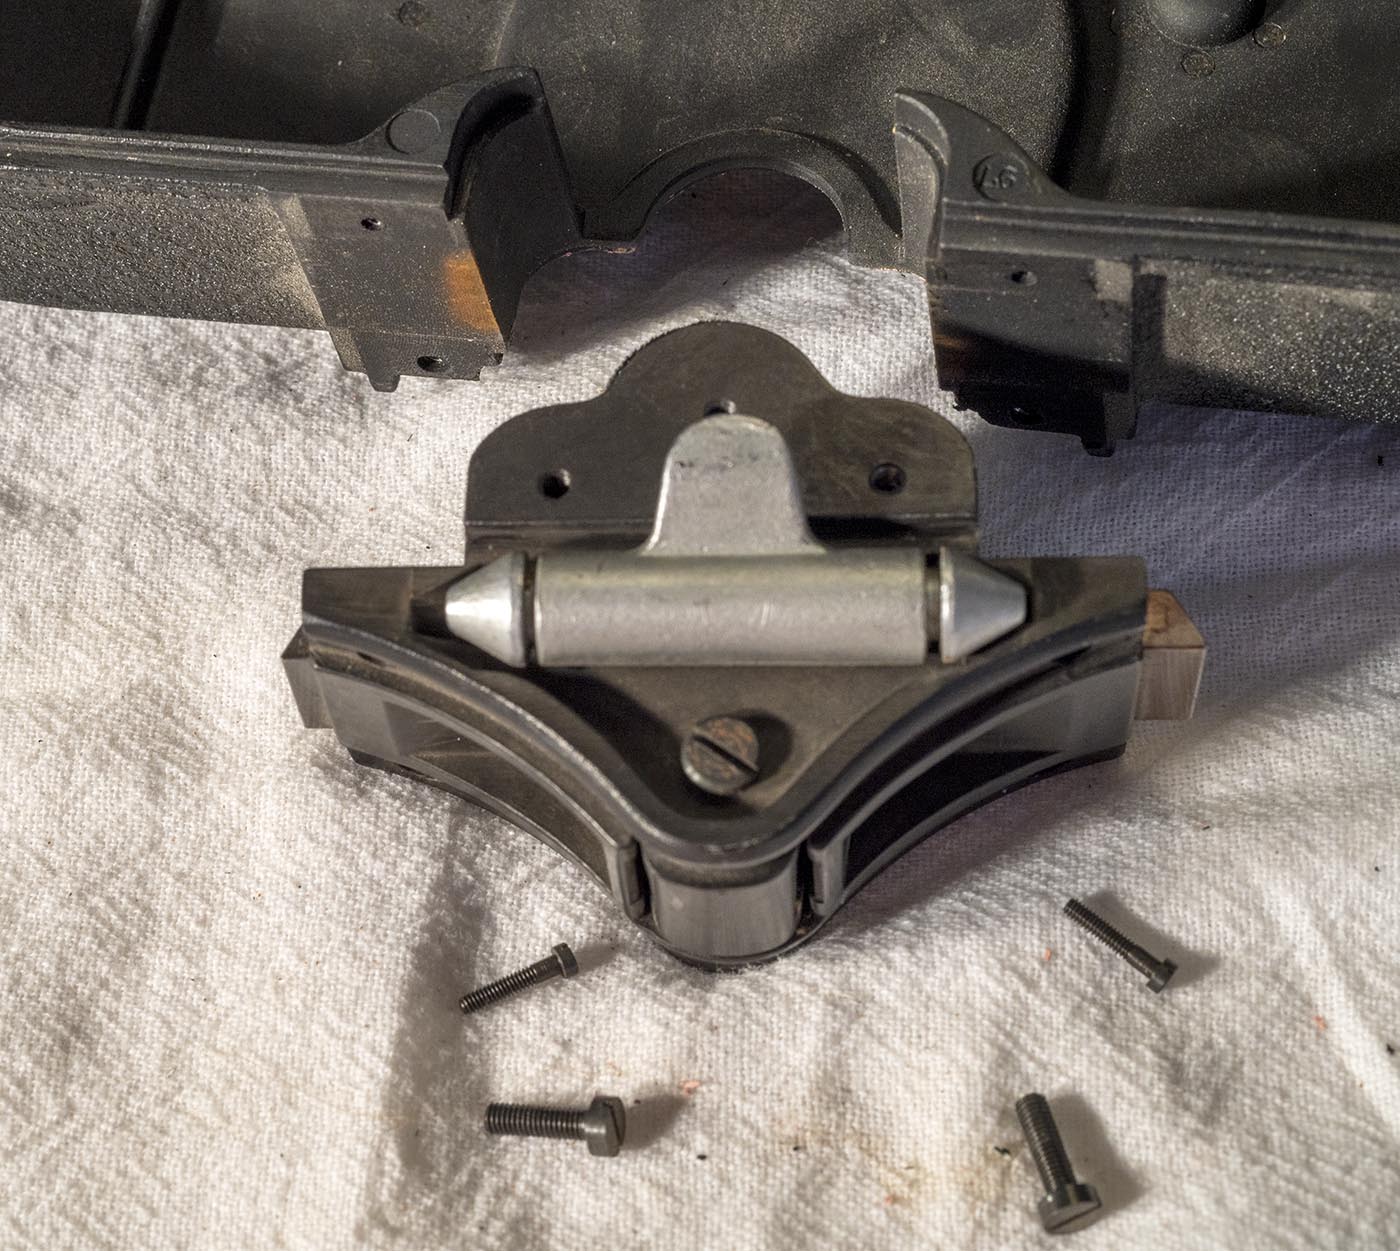
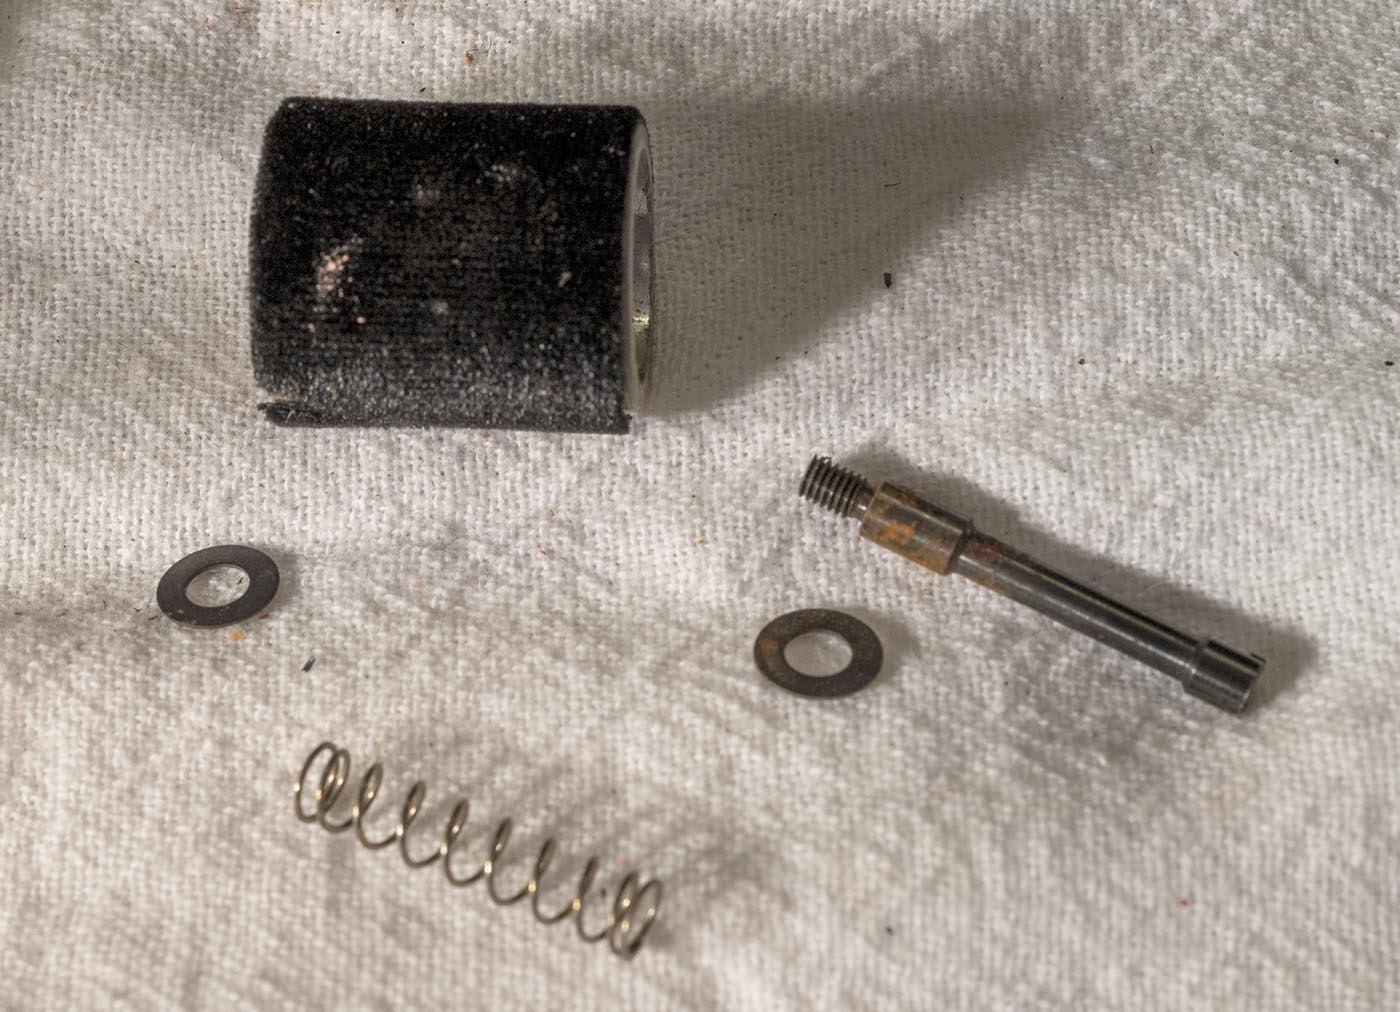
The screws are axle pins for the 3 rollers - here they are partially removed. You can also see the whole reason we're tearing this one down.
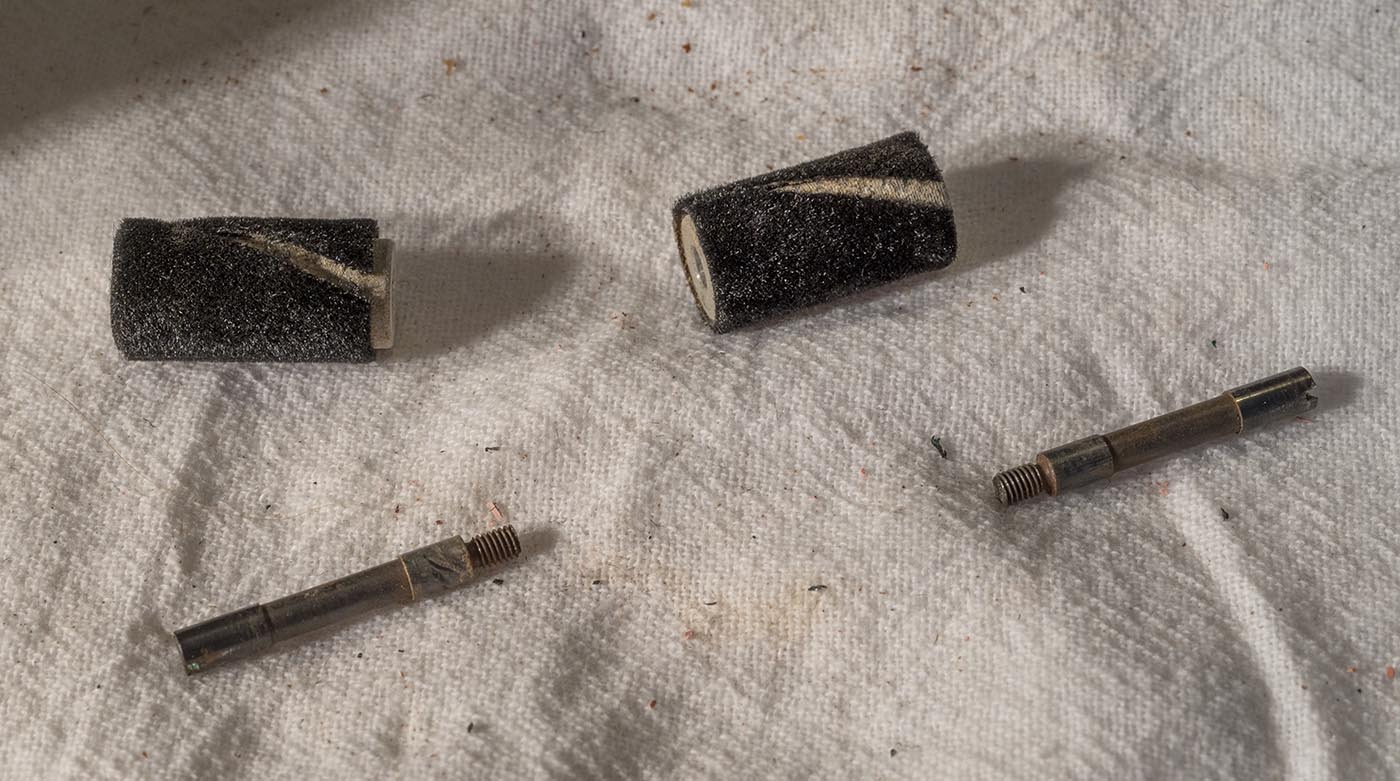
The glue holding the felt wrapping on the rollers has turned to dust and they're peeling off. That's no good!
The center roller uses a spring to center it on the axle pin, plus a washer on each side. Make sure not to lose these parts as you disassemble things.
Yep, nothing but dust where the contact cement used to be.
The two outer rollers just ride directly on the axle pins. Also nothing but dust where the glue used to be.
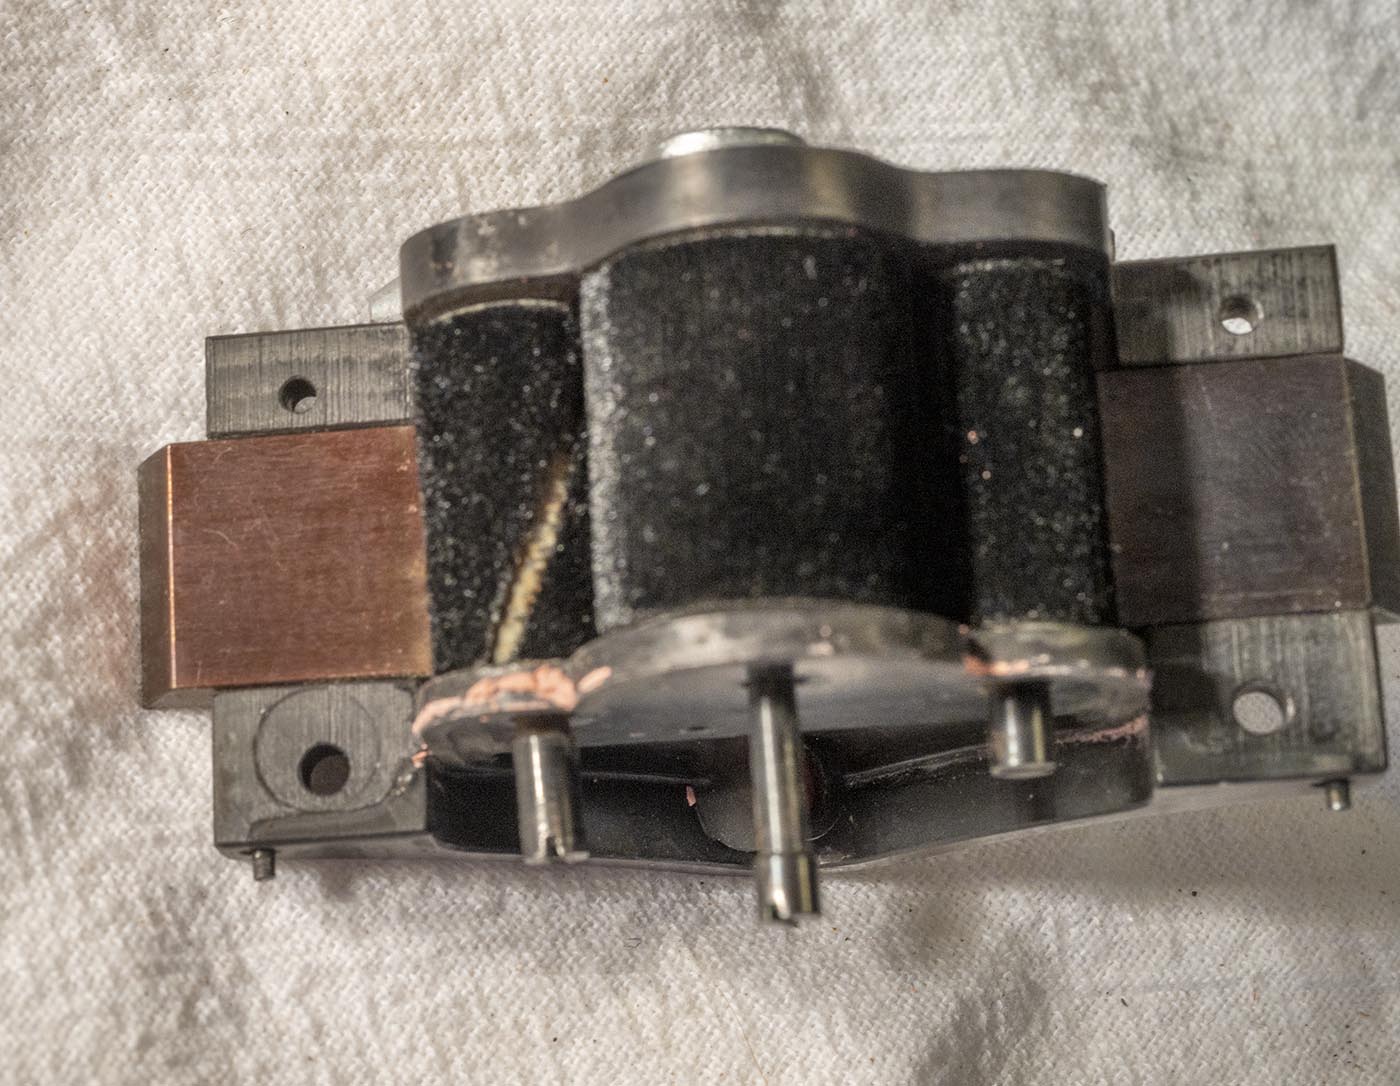
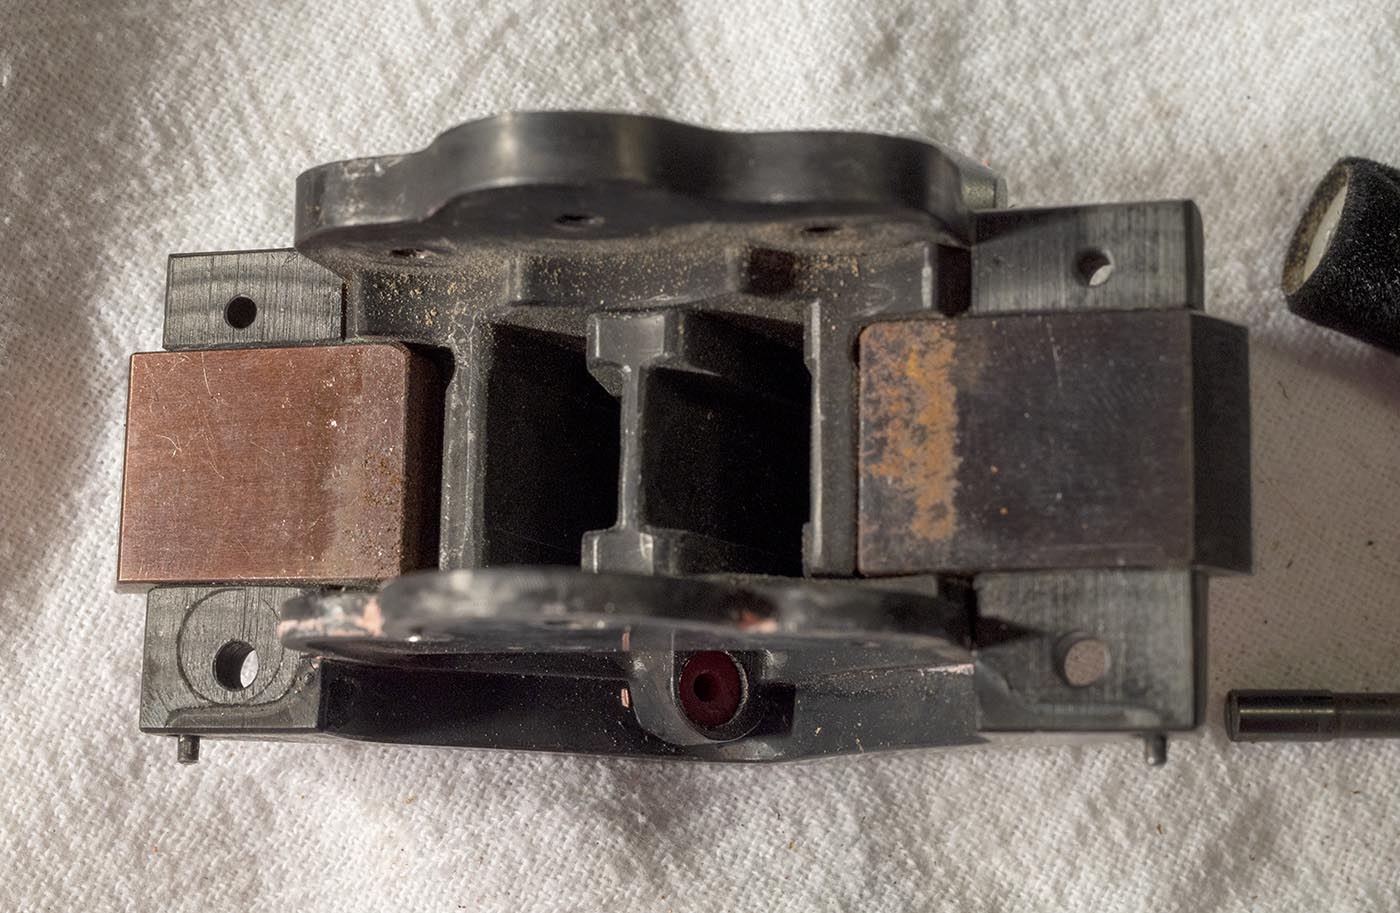
The view of the carrier piece with the rollers removed.
So I just cleaned the rust, dust, and dirt off of everything, then reattached the felt to the rollers using fresh contact cement. Carefully
line up one end and start it going, then pull on the other end as you roll it down, to make sure it stretches and reaches to meet up with the first edge.
Putting in the end rollers was easy, but getting those washers in against the spring on the center one was not going well. I finally used
just the tiniest film of oil on them to "stick" them in place on the side of the carrier... and then carefully, not letting the spring hit
either of the washers and dislodge it, I got the center roller in place and fed the axle pin through it.
After tightening down all 3 axle pins, I used some bolt-holding goo to lock them in place (in lieu of the Arri green paint used for that purpose.)
After reassembling the whole carrier back into the magazine, I didn't really want to put any pink goo that would crumble and cause dust like
the original (even though it's under the motor and the dust shouldn't be getting into the area with film, why take chances?) So I just let a
little flat black enamel paint thicken up a bit and then painted it down into the seam as a light block/sealer all in one. There's not at
all a direct light path through there, it's quite baffled anyway, but I figured something needed to be in there to keep sneaky dust out of
the magazine, in any event.
Oh yeah, and of course I polished up the various contact faces involved before reassembly, just to make sure there was a good low-current path for the 8V.